Opinions are somewhat divided on the merits of the last series, and especially the last episode, The Final Problem. I chose not to judge, but simply to portray scenes from the series as well as possible, and there were quite a few scenes in that episode which were worth recreating. A trip to East Sussex last year helped… the beautiful beaches at Camber Sands were crying out for an invasion of toys.

A flat piece of sand, a couple of Playmobil people tied together with string and some writing in the sand made this one very easy:

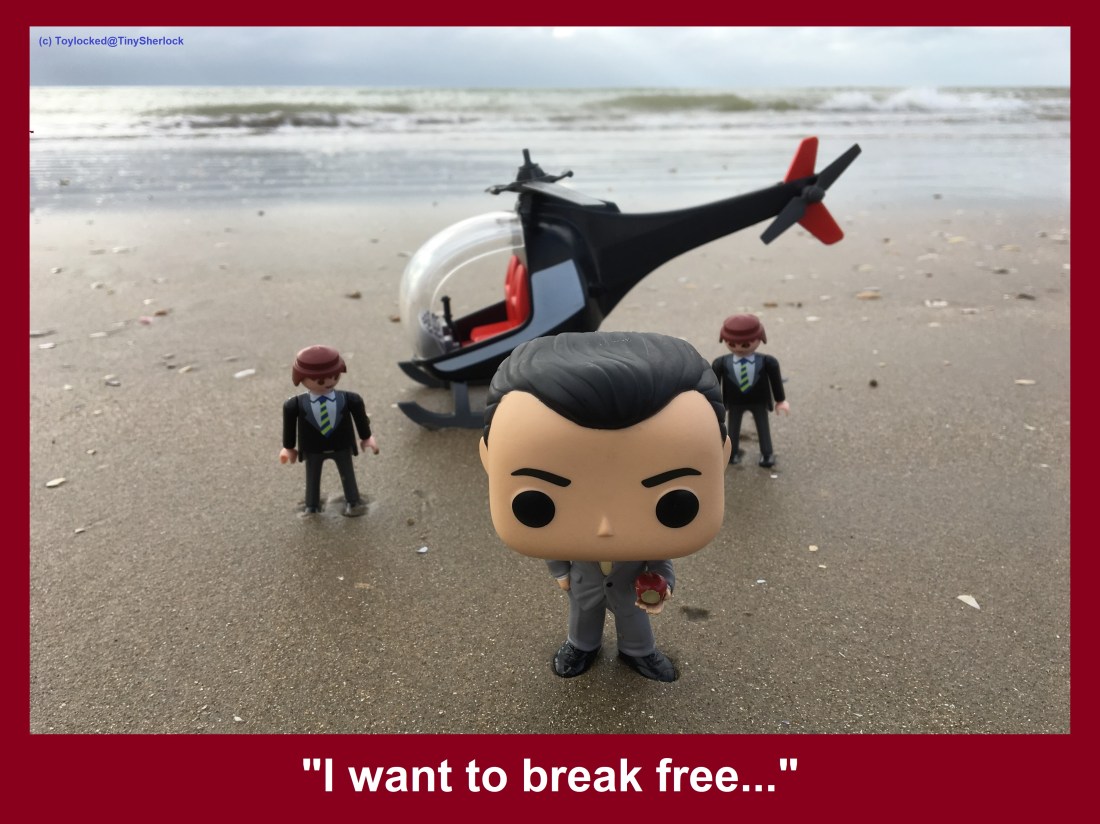
Moriarty’s arrival at Sherrinford was slightly more complicated. It was a breezy day, the Playmobil helicopter rotors kept moving, the Playmobil “minders” kept falling over, and Jim, in the way of Funko Pops, had a very big head which made him hard to keep stable in the wind: in this shot, one of the minders is down and Jim is in the act of falling.
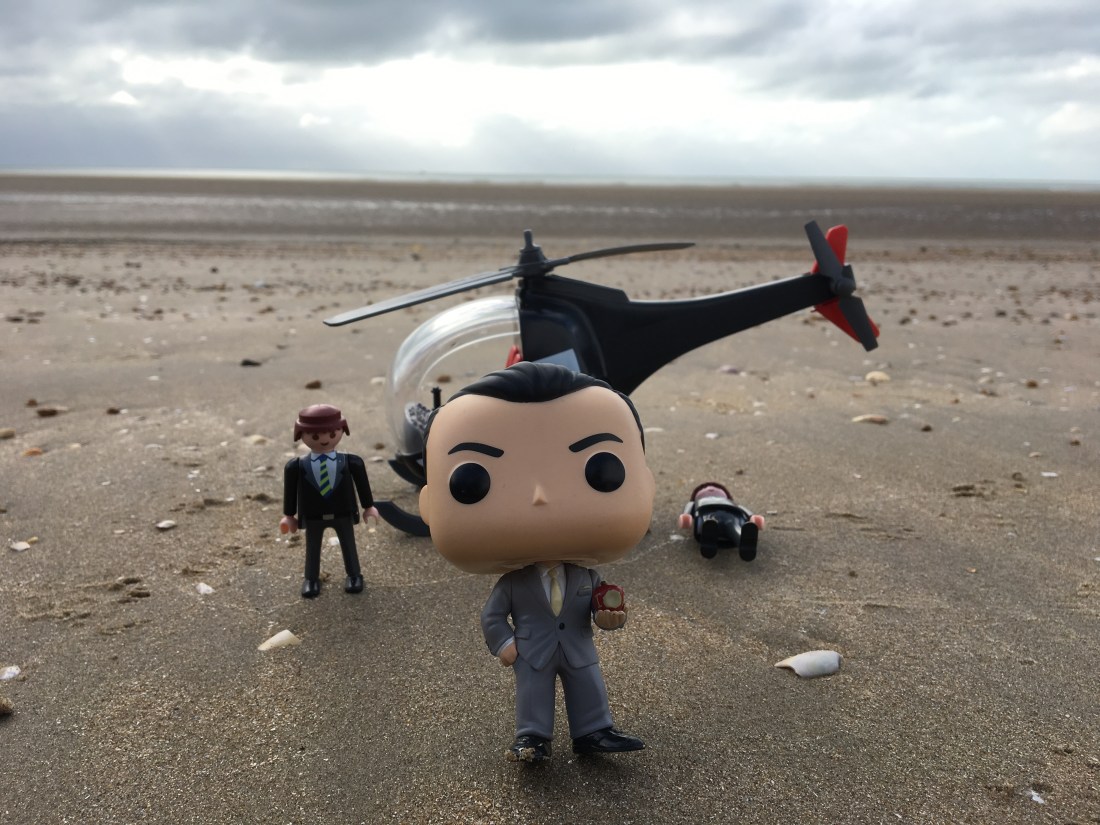
Because I had to move the toys several times, the sand became disturbed and I had to try different parts of the beach. In the end, I went nearer to the sea so the waves could be seen in the background. As often, it wasn’t until afterwards, when I went through my photographs on my laptop, that I was sure I had one good enough to use:
To create the gloomy atmosphere inside Sherrinford, I wanted to replicate the dark and slightly mottled walls seen on the set. I took advice from an artist friend on experimenting with spray paints, and eventually sprayed black card with dark grey car paint. This was just enough to reflect the light slightly differently as compared with plain paper. As with previous scenes, I simply took a photograph of my tv screen to check the layout:

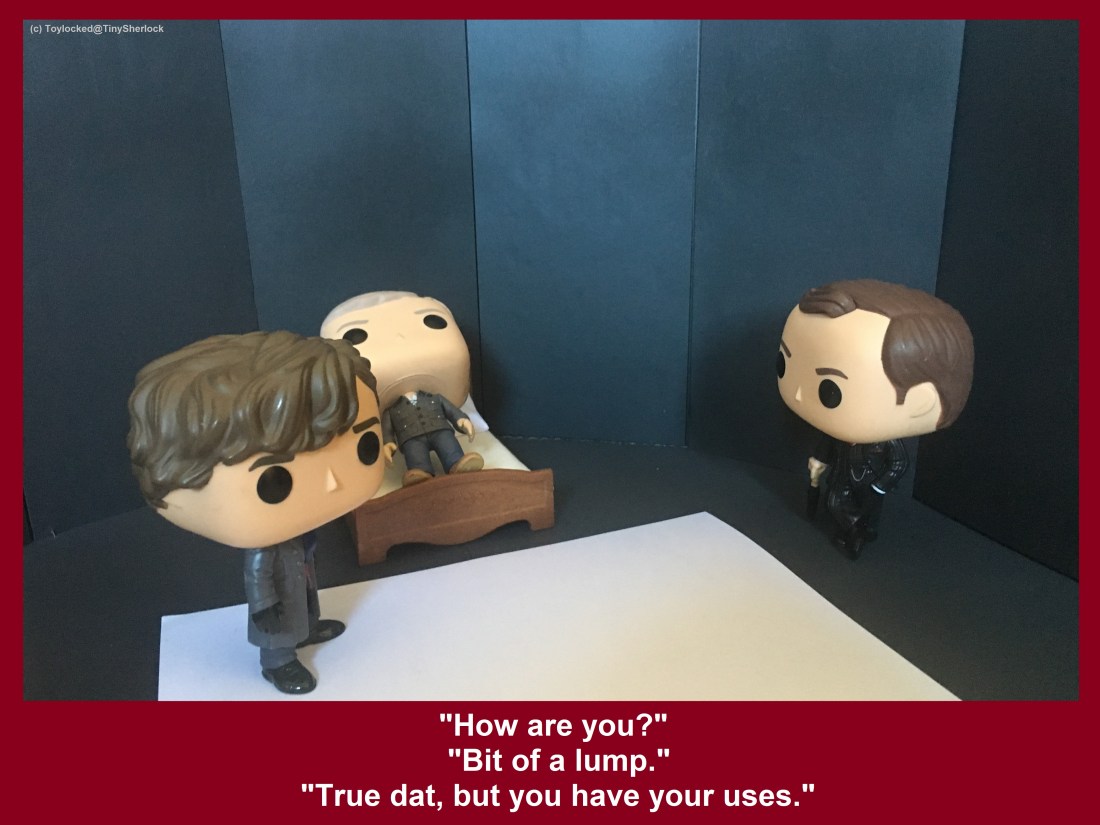
The walls of Eurus’s cell are straight panels arranged around a curve. I pinned my painted panels to a large sheet of corrugated card, curved to create slight angles between the panels. The bed is actually from a “Sylvanian Families” set, about as far from the world of Sherrinford as I can imagine!
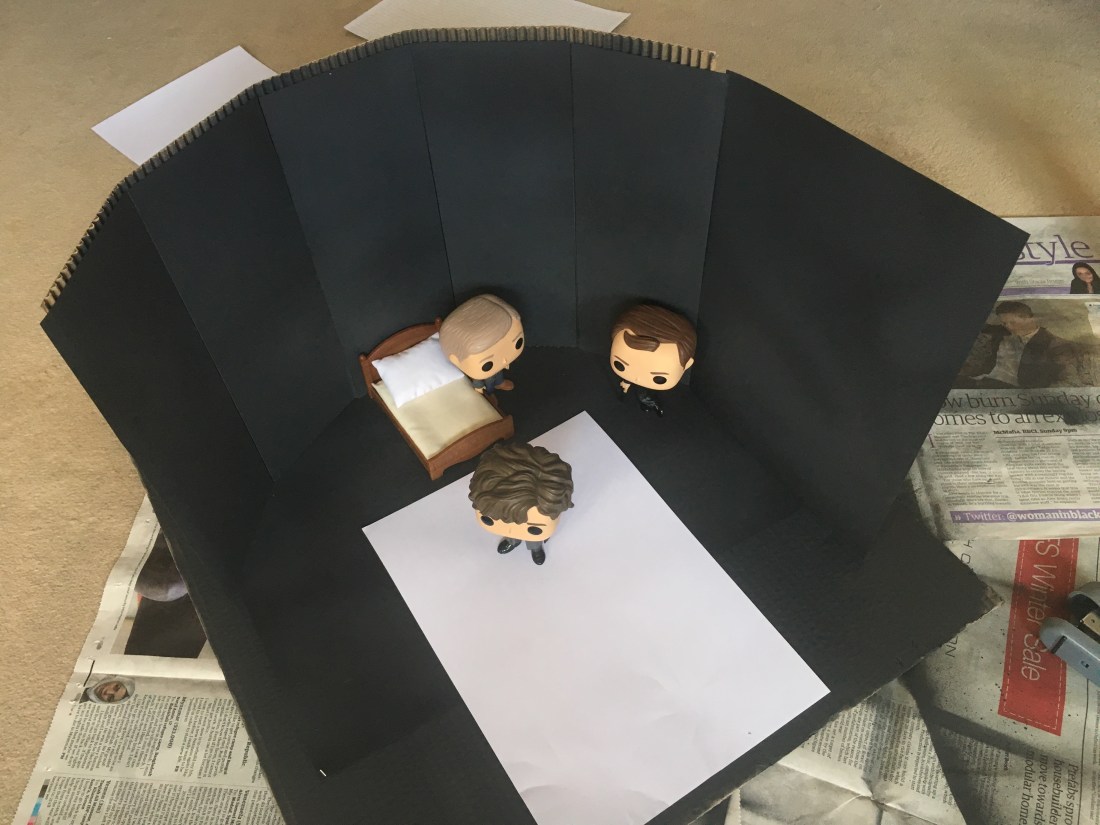
With dimmed lights and carefully balanced torches, I got the gloomy effect I wanted:
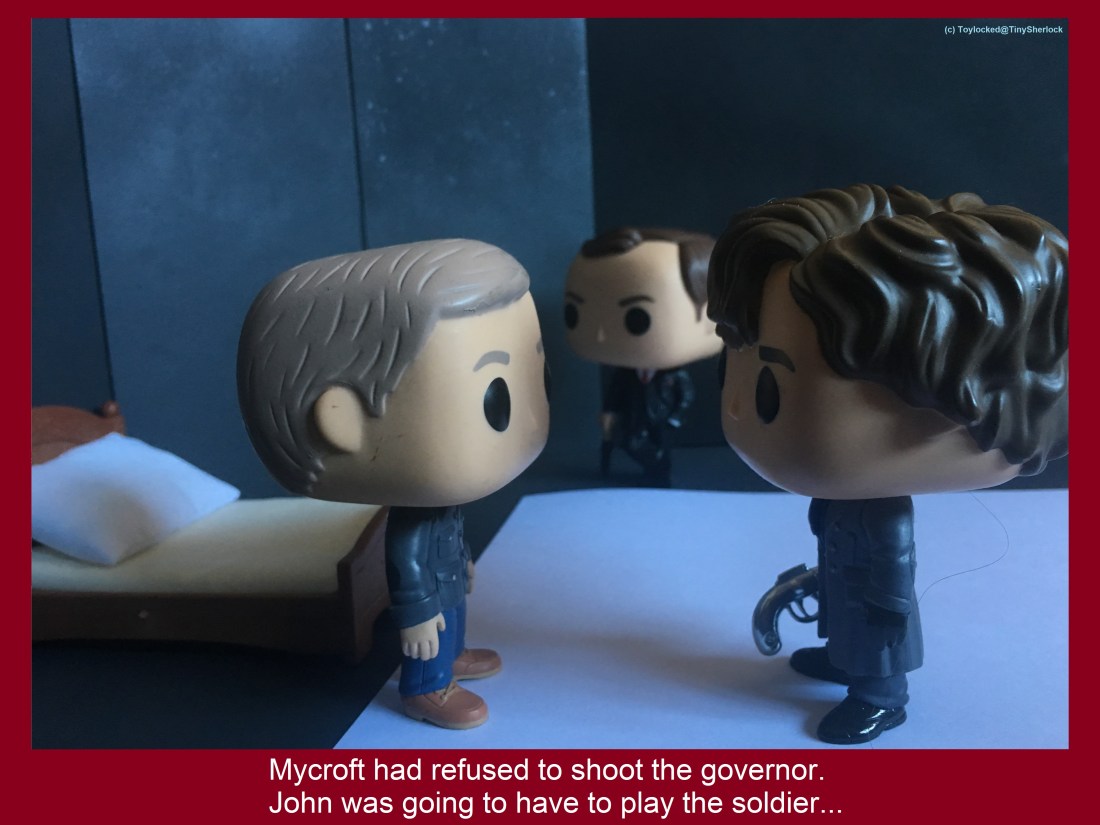
The gun which Sherlock hands to John, after Mycroft refuses to be drawn in, is from the Sherlock Cluedo set, stuck to Sherlock’s hand with Blu-tak:
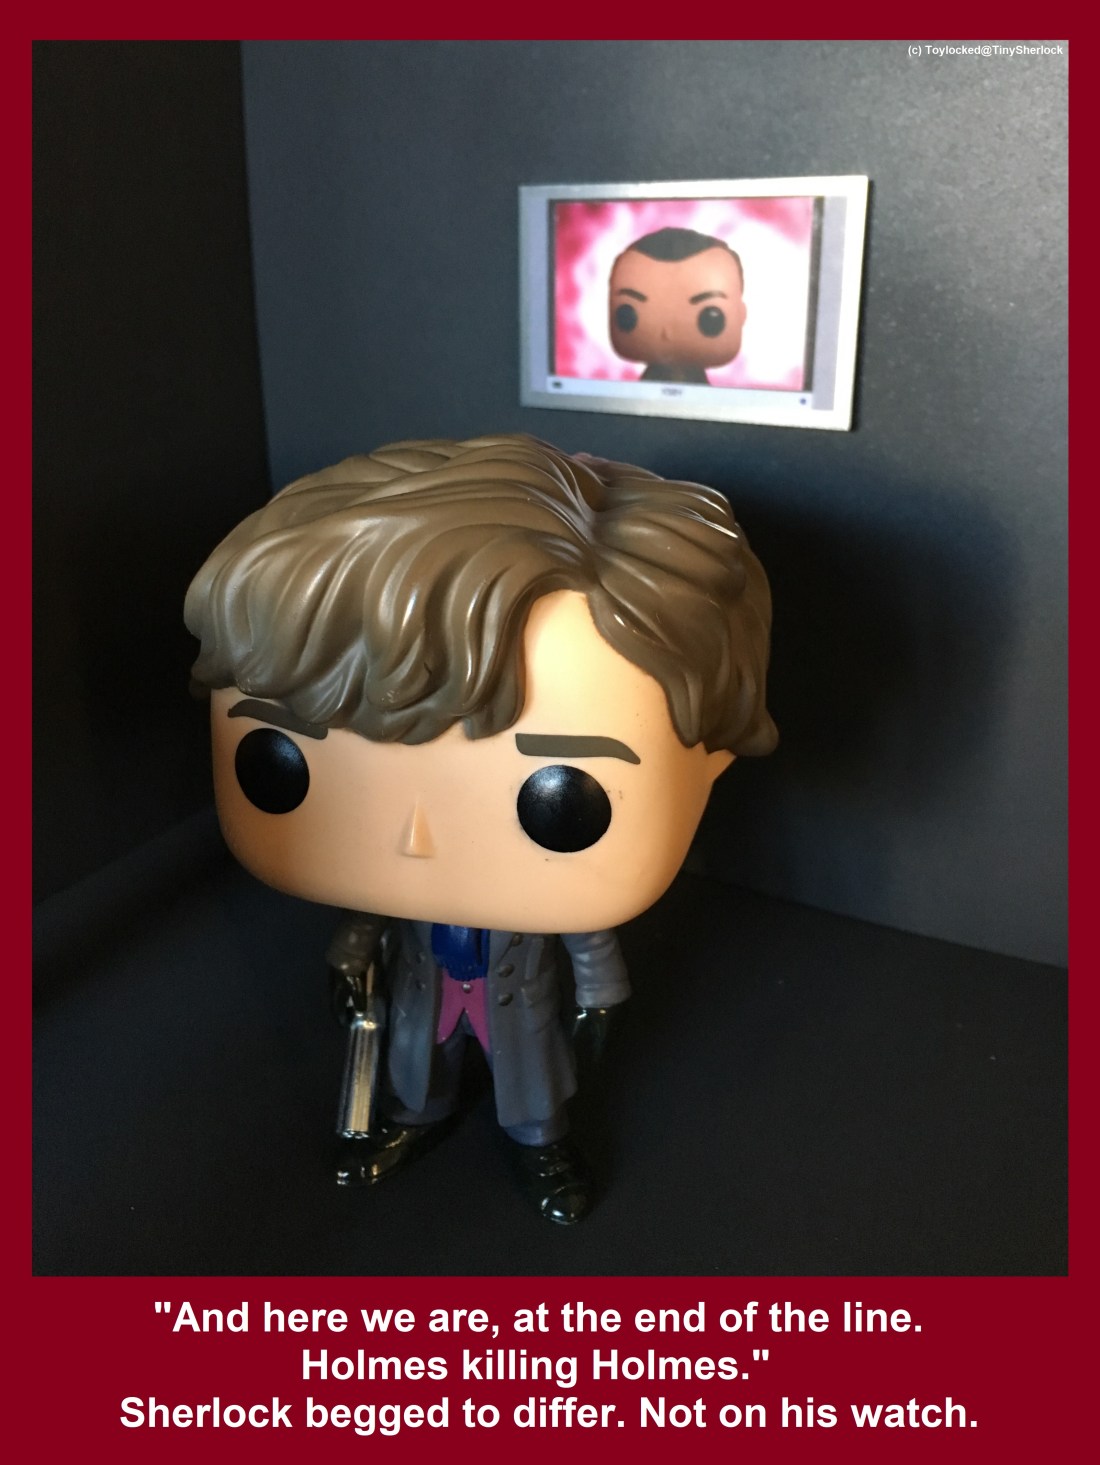
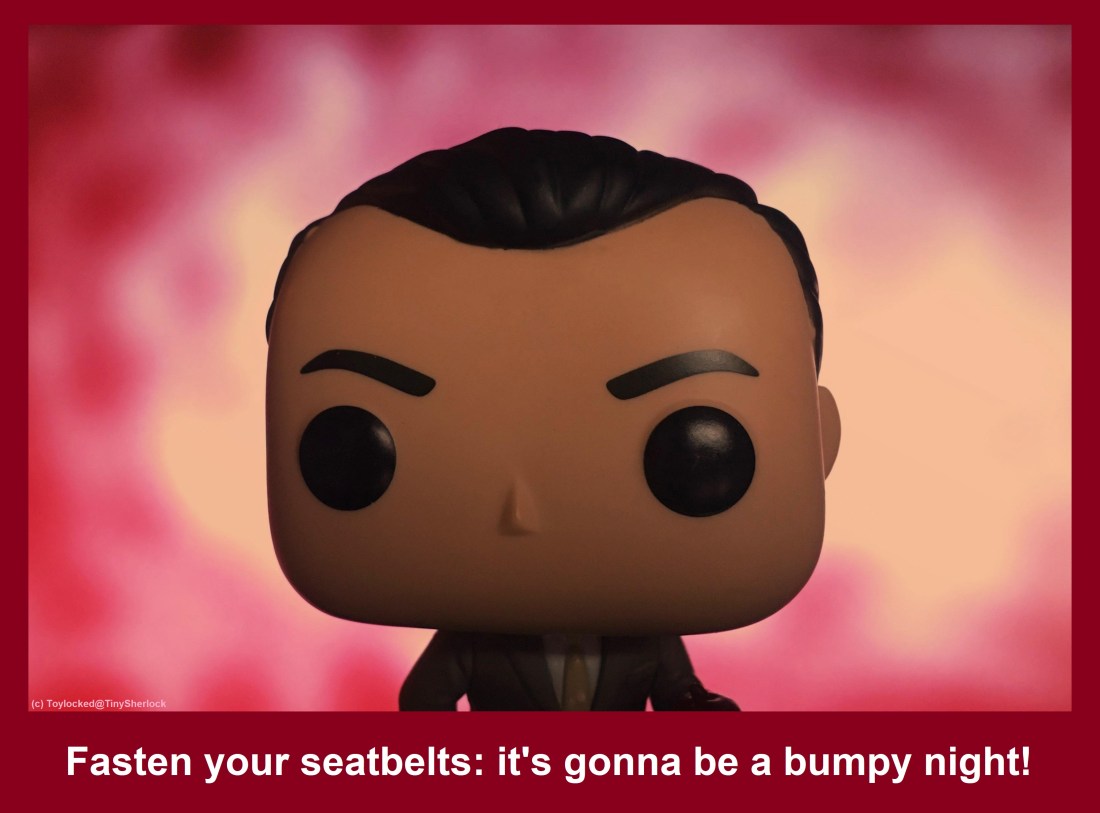
As our brave trio go through their ordeal, the situation is made grimmer by Moriarty’s teasing videos from beyond the grave. I took a screen shot of his appearance on the screen, edited out Andrew Scott, placed the Moriarty Funko in front of the laptop screen and took a photo! A little colour adjustment and there he is in his villainous glory!
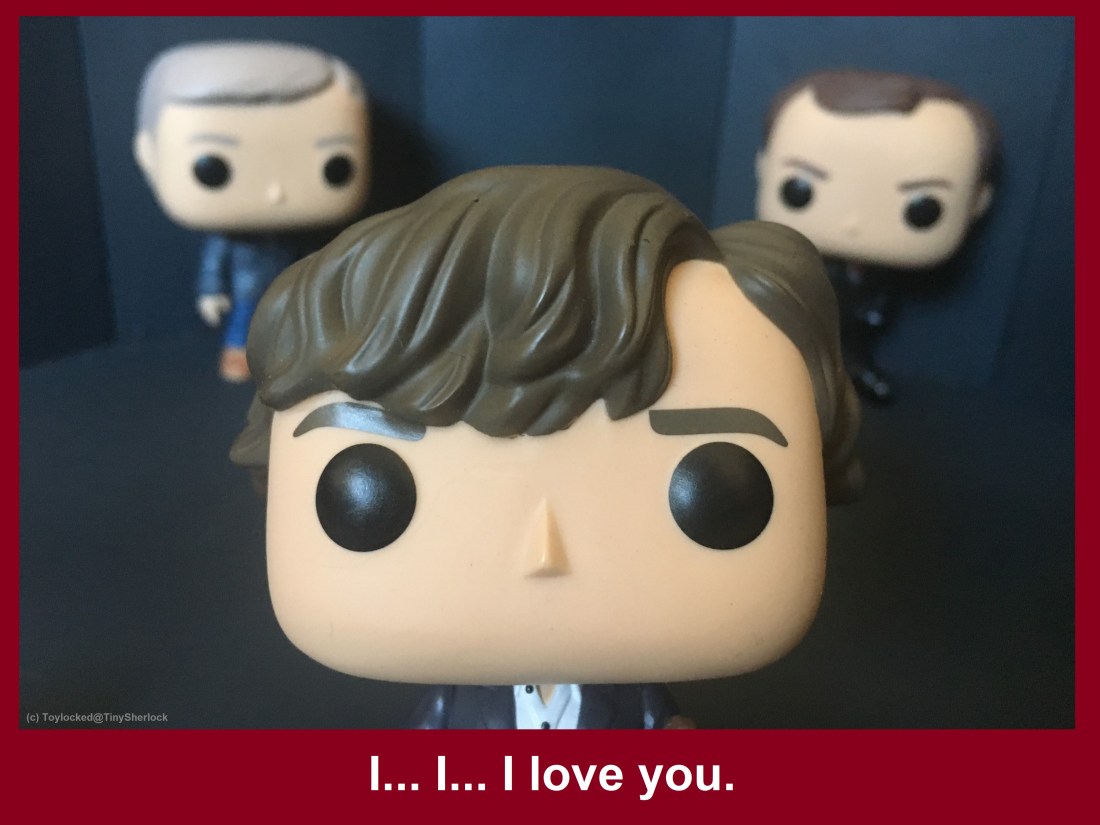
For Sherlock’s agonising conversation with Molly, orchestrated by Eurus, the key was to position the toys so that the sizes indicated distance:
Otherwise, it was simply a question of using the set I’d made for Eurus’s cell, and focussing on Sherlock rather than John and Mycroft:
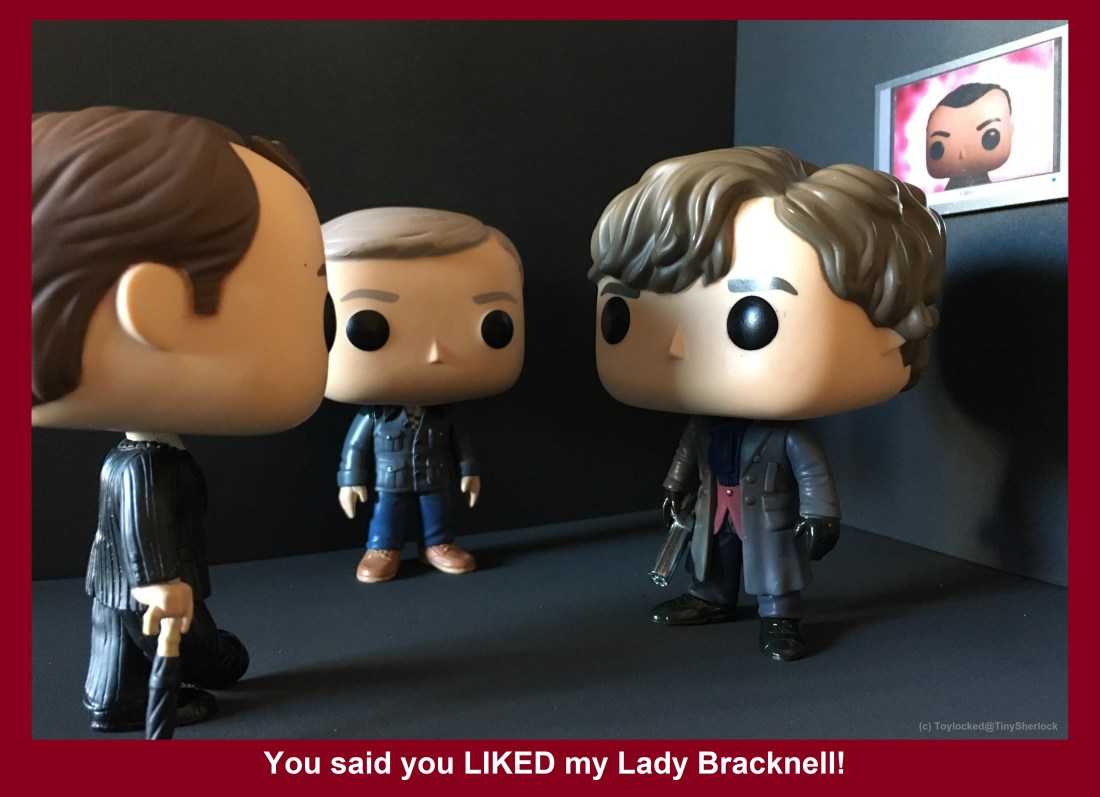
The picture I’d made of Moriarty cheering on proceedings then came in handy for a couple more pictures. I bought a tiny flat-screen tv from an online supplier, printed out the Moriarty picture to the right size and stuck it on the tv. I made a rectangular room with the same grey-sprayed black card for these.
I was particularly pleased with the one of Sherlock standing alone, taking his brave decision to call Eurus’s bluff. Sometimes it’s the simplest pictures which work best: